Login & Platform Guide
Login & Platform Guide
For Users
This guide is for people using Heicode for the first time. It covers how to log in, connect resources, download the client, start an Agent, and view results.
Access
Platform URL:
https://code.heicode.cc/Users only need to log into Heicode. Ordinary users don't need to log into the CodeGW backend or OpenBao.
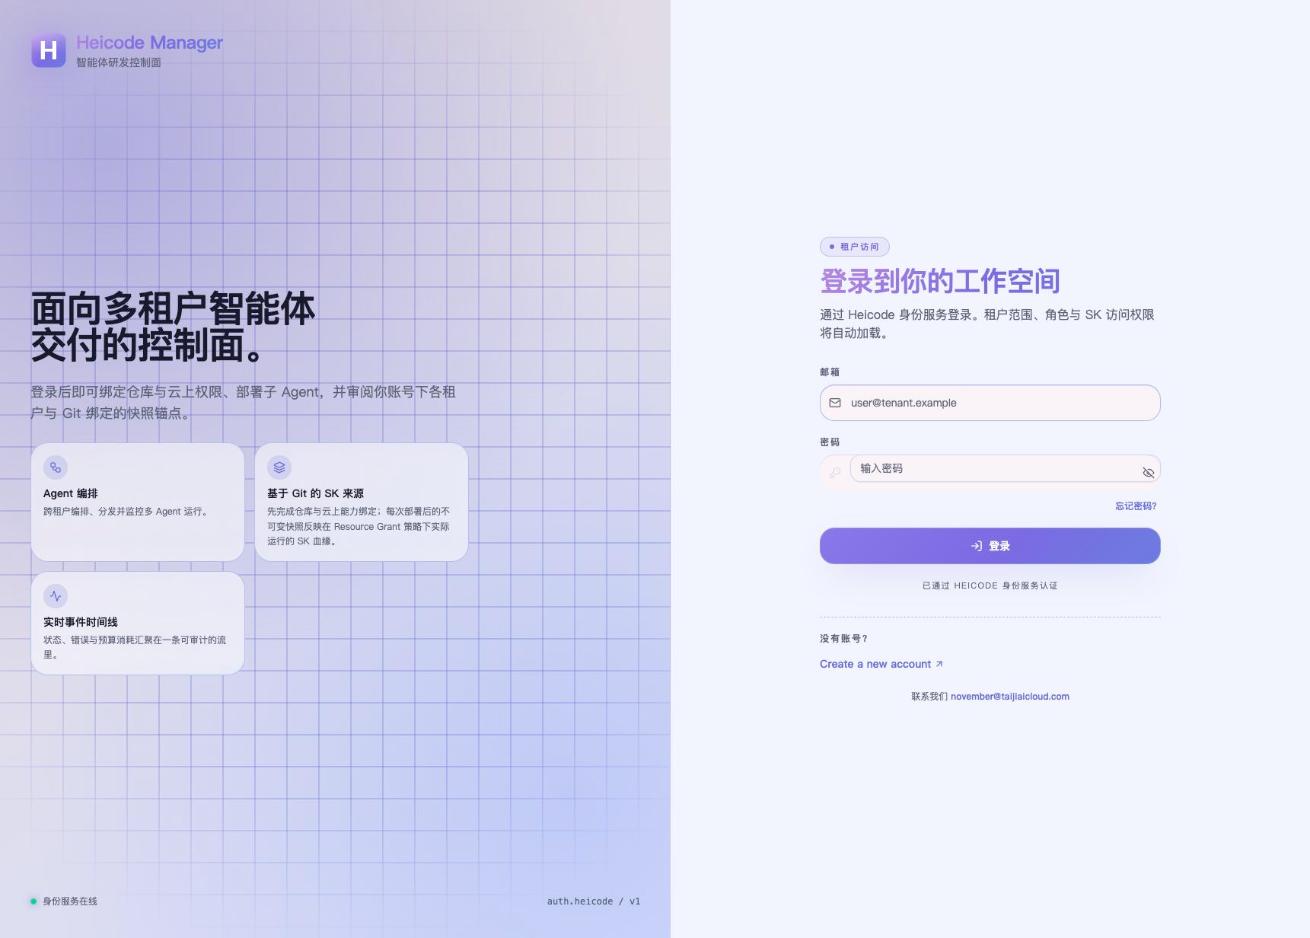
Step 1: Log into Heicode
- Open
https://code.heicode.cc/. - Enter your account and password, or use a supported login method.
- After logging in, you'll land in the Heicode console.
- On the home page, check your resources, models, tasks, and client download status.
After login, the platform reads:
- User ID.
- User email.
- User role.
channelId.
This information is used for identity, CodeGW quota, and usage mapping.
Step 2: Download the Client
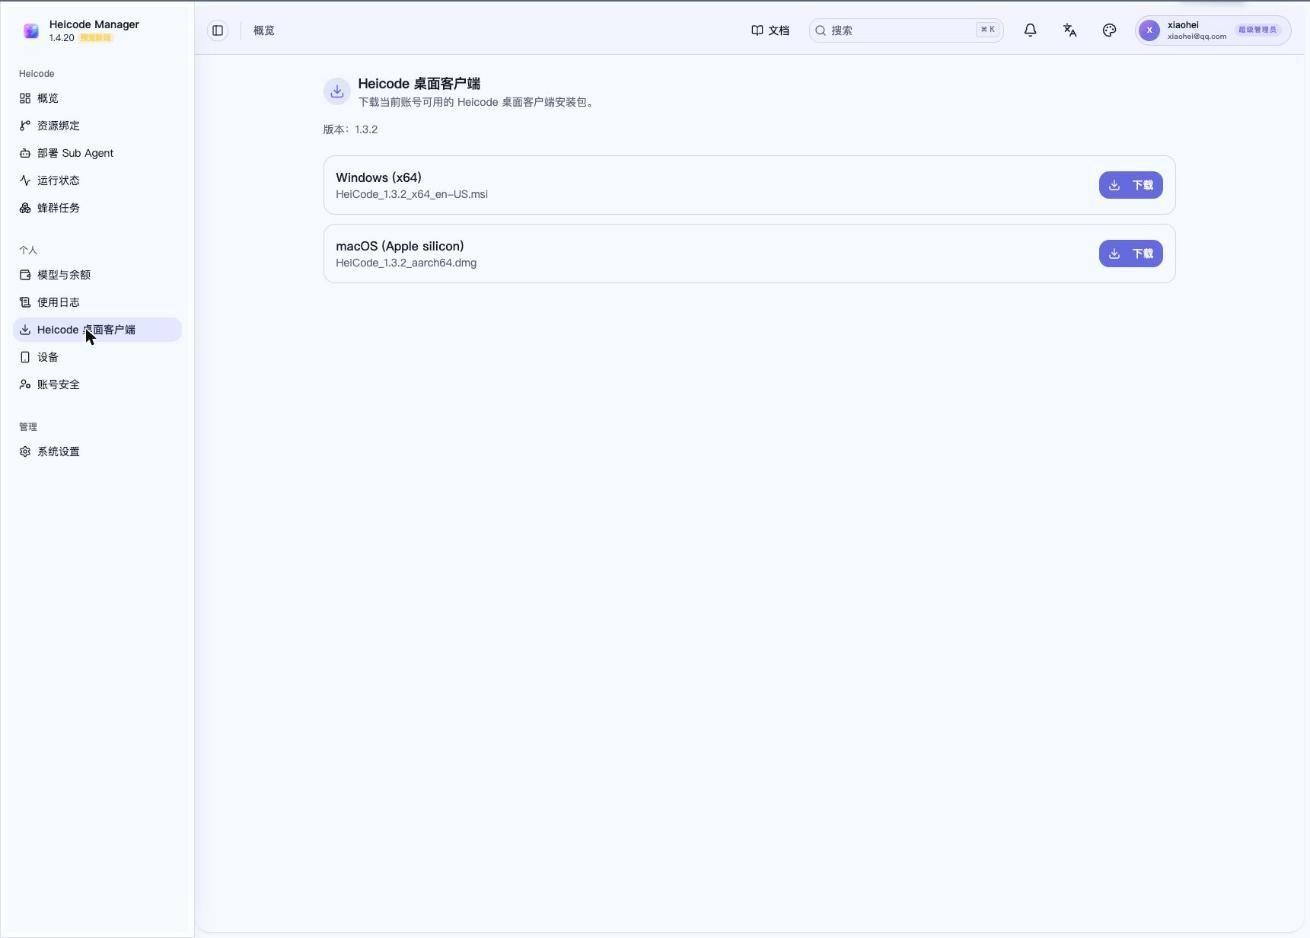
- In the Heicode console, go to
Client Download. - Choose your OS, e.g. macOS or Windows.
- Download and install the Heicode client.
- Open the client and log into
https://code.heicode.cc/.
The client never asks you to choose a model provider — the models available in the client are provided by Heicode.
macOS notes:
- Official release builds are already signed with an Apple Developer ID, notarized, and stapled — a normal install shouldn't trigger any system warning.
- If you do see a security prompt, it usually means the installer came from the wrong place (e.g. an unofficial download source) or it's a local dev build (unsigned). Confirm you downloaded from the official channel and try again.
Step 3: Describe Your Idea in the Client
You mainly type what you want done in the Heicode client. Manager handles supporting tasks — downloads, the resource-readiness checklist, Agent startup, status, and audit — not the main dev conversation.
For example:
I want to build a task-management SaaS for small teams,
with login, projects, tasks, comments, notifications, and an admin backend,
deployed to Azure.
At this step, you just describe your idea in the client, and the Agent starts understanding and executing directly.
Step 4: Connect Resources
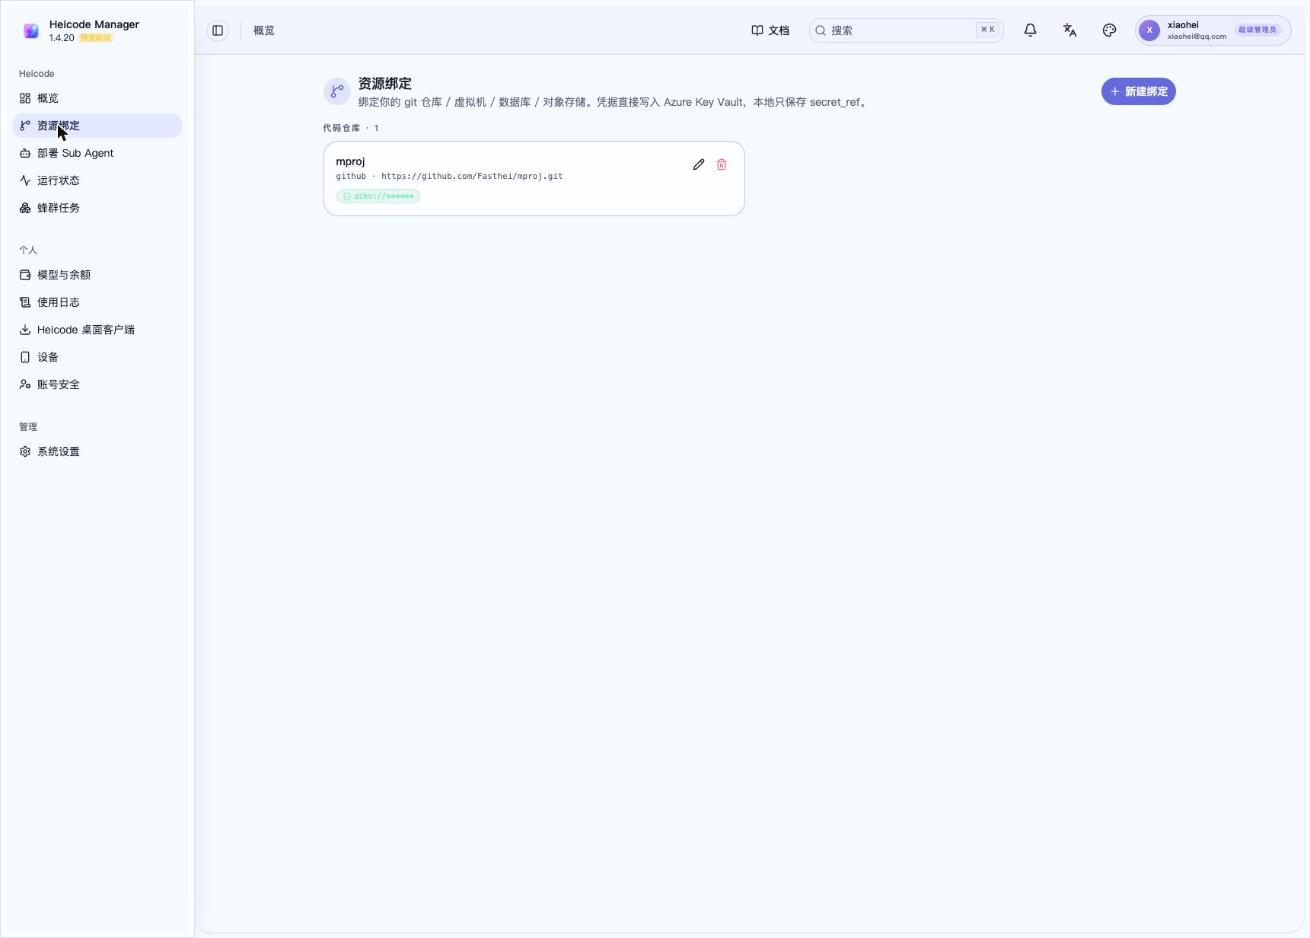
Open the Resource Binding page and connect the resources your task needs.
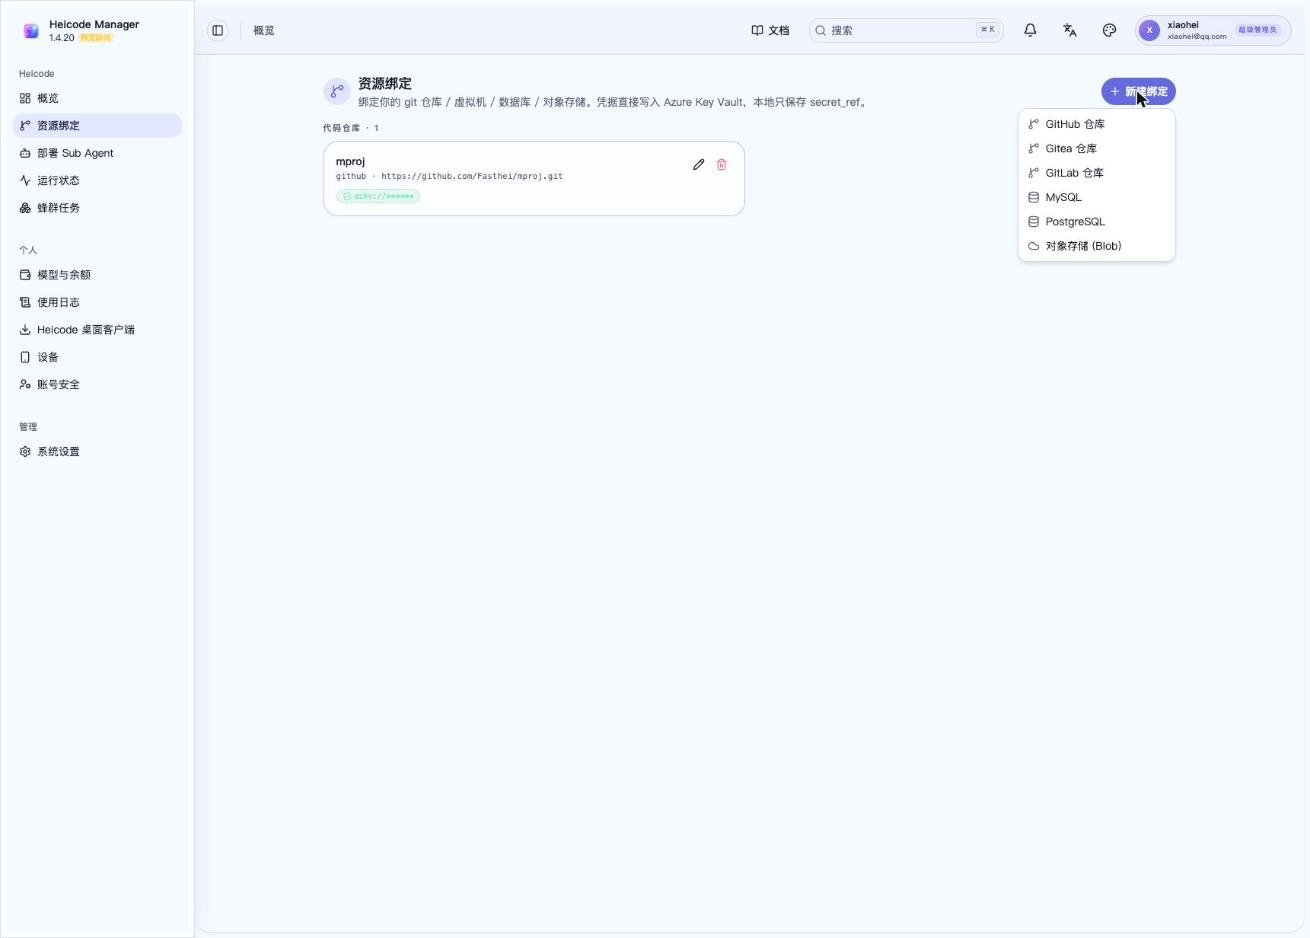
Resources you can connect:
- Code repositories.
- SK repos or skill packs.
- Project docs.
- Cloud accounts.
- Cloud resources.
Recommended flow:
Connect Git
-> Connect project docs or SK
-> Connect a cloud account
-> Auto-discover resources from the cloud account
-> Confirm the resource scope allowed for this task
You never need to paste credentials into a doc. Real credentials are written by Heicode into the credential vault — Heicode only stores the secret_ref.
Clicking "New Binding" shows every resource type you can connect:
Step 5: Confirm the System Recommendation
When assembling a team, you can pick from Heicode's 19 role templates — you just need to confirm the final combination makes sense.
Common role templates include: analyst, architect, code-reviewer, code-simplifier, critic, debugger, designer, document-specialist, executor, explore, git-master, planner, qa-tester, scientist, security-reviewer, test-engineer, tracer, verifier, writer. Not every task needs all roles — a simple task might only need 1-2.
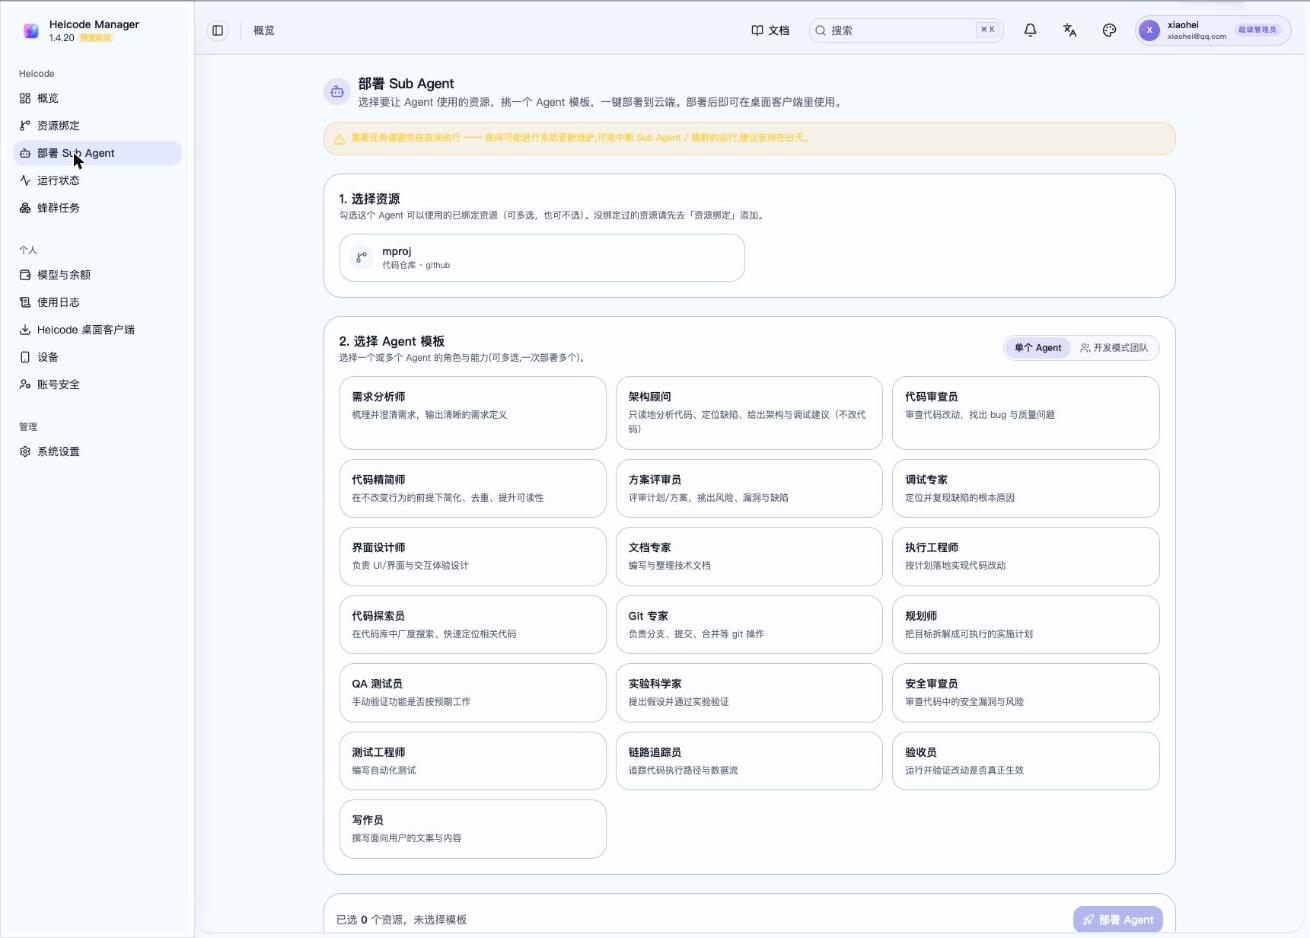
Besides freely combining roles yourself, the Heicode console also offers two one-click team templates: "Agile" (Product + Dev + Review, 3 people) and "Waterfall" (Analysis + Architecture + Dev + QA + Review, 5 people).
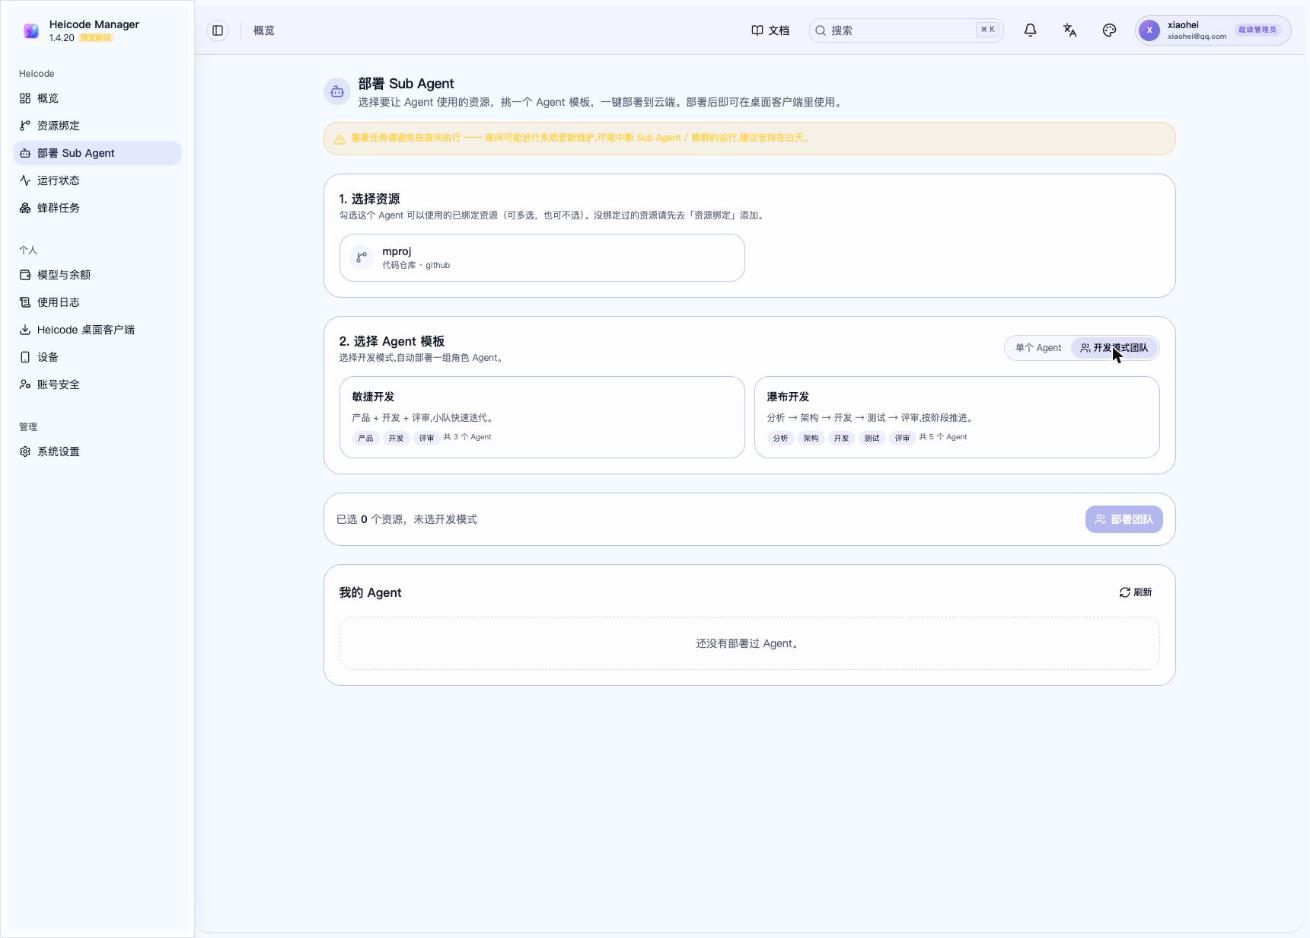
After confirming the team composition, you'll also see:
- Recommended repos, docs, SK, and cloud resources to use.
- High-risk action rules.
What you see looks like this:
This task will use repo-main and aks-test.
Production deployment, production DB access, and deleting cloud resources
require client-side approval.
Long-lived credentials are never handed to the Agent.
You don't need to look at the full backend authorization, runtime policy, or model parameters — Heicode generates those in the background and logs them to the audit trail.
Step 6: Confirm High-Risk Actions
High-risk actions are approved in the client.
Common high-risk actions:
- Production deployment.
- Modifying a database.
- Creating or deleting cloud resources.
- Accessing production credentials.
- Large model-budget consumption.
Only after you confirm does the platform issue a short-lived credential to the sub-Agent.
Step 7: Start the Agent
After confirming the summary, click Start Agent.
Heicode generates everything execution needs in the background, including sub-Agent roles, resource context, runtime policy, model budget, and approval policy.
None of this is shown as a step for ordinary users. Heicode hands it off to the Agent platform to execute — you only see the start result, current status, and any approvals that need your attention.
Step 8: Keep Driving the Task from the Client
Once the task starts, the main flow moves back to the client.
Think of the loop like this:
Client keeps adding requirements
-> Heicode generates the next sub-task
-> Agent works the current stage — requirements/dev/test/fix/deploy
-> Agent calls authorized SK tools as needed
-> Intermediate results and failure reasons come back to the client
-> User keeps correcting or approving
-> Final deliverables and deployment results come back
Step 9: View Execution Results
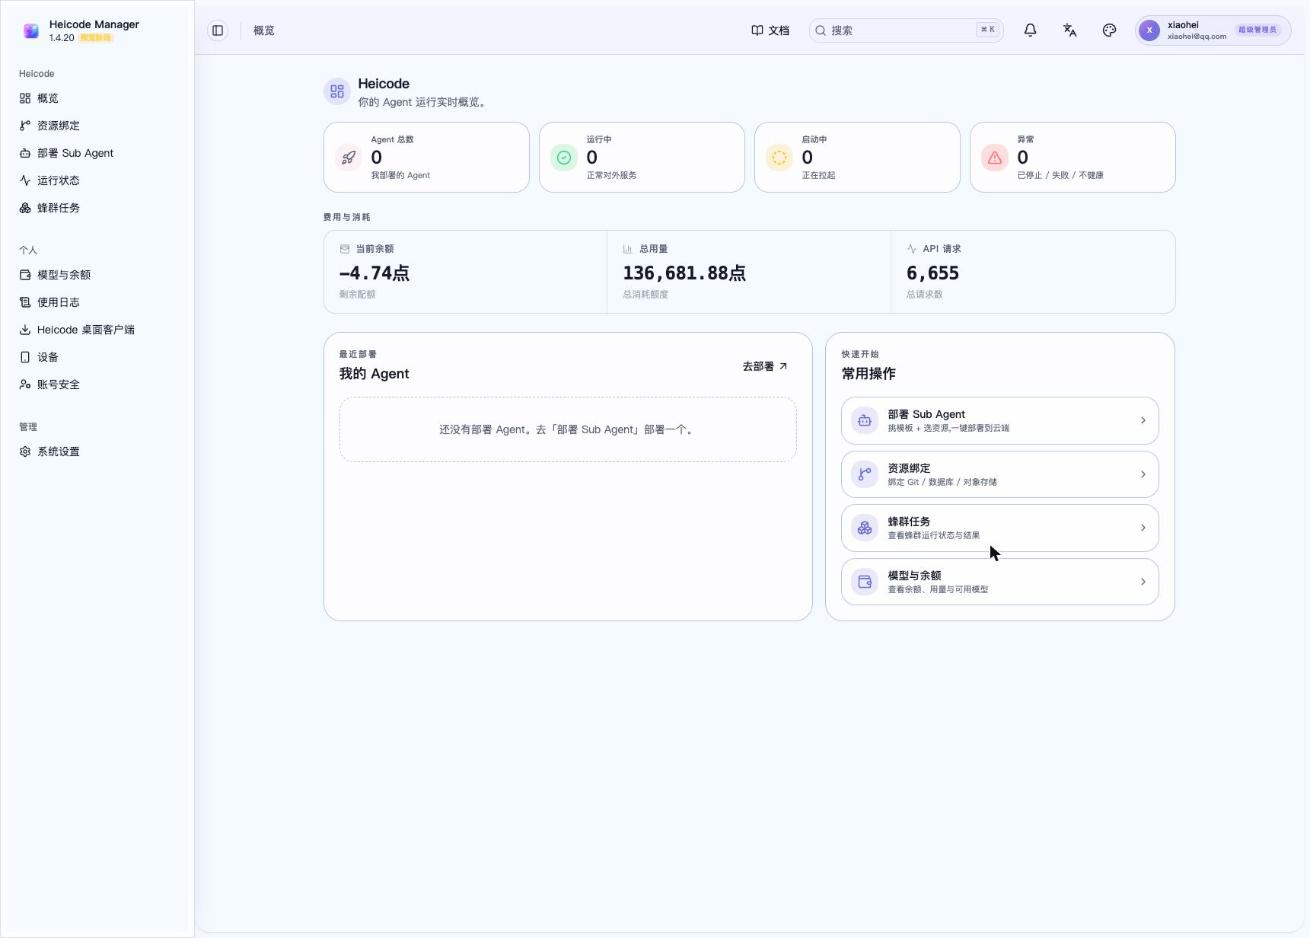
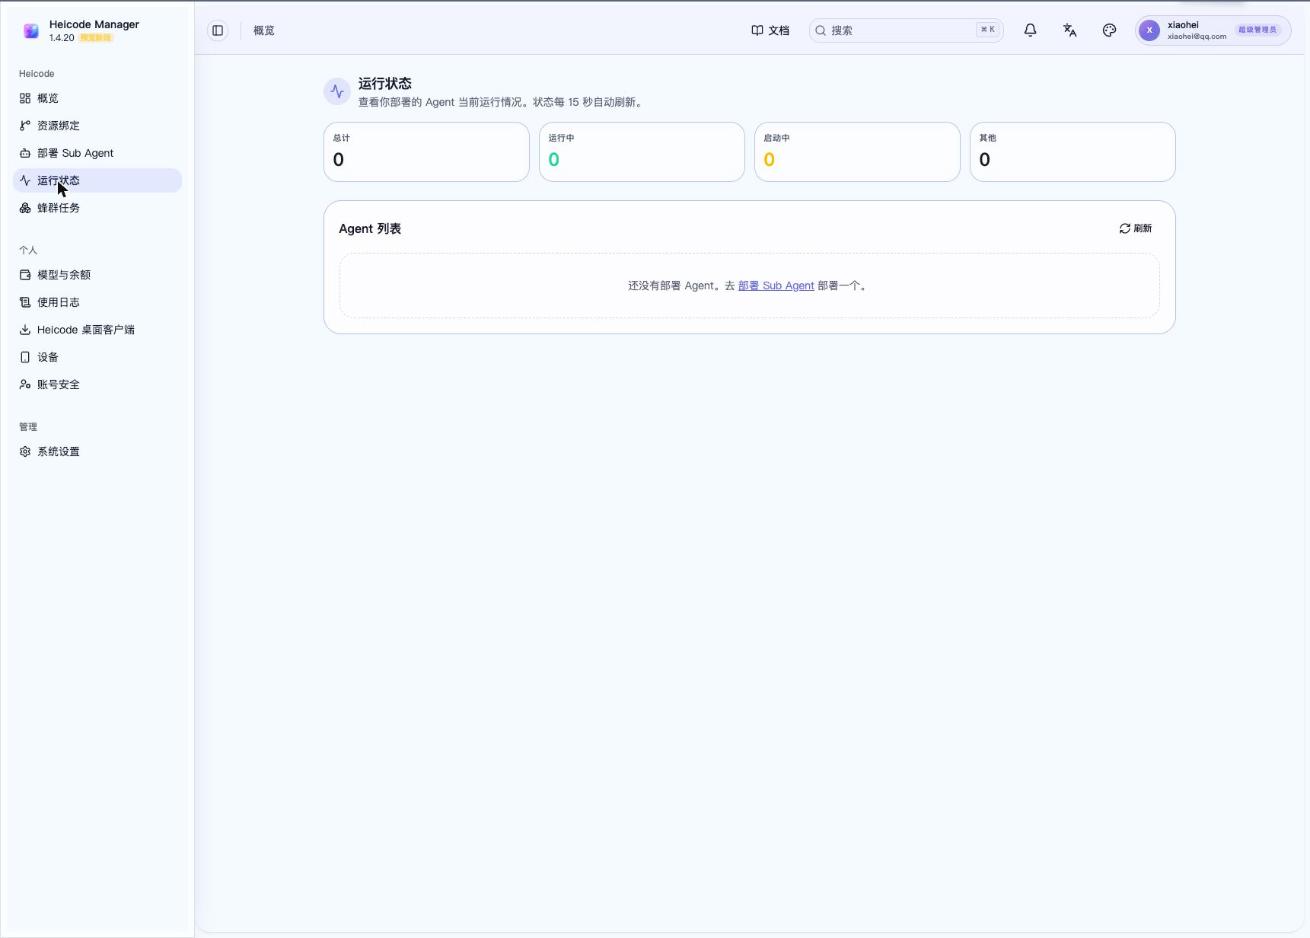
In Heicode you can view:
- Current task status.
- Sub-Agent activity status.
- Runtime logs.
- Failure reasons.
- Model usage.
- Resource access records.
- High-risk approval records.
- Deployment results.
Note: The Audit Logs page (/audit-logs) is only accessible to organization Owner, Admin, and Auditor roles. Regular Members and individual users cannot access it.
Step 10: Maintain and Upgrade
After going live, you can keep typing:
- Fix a bug.
- Add a feature.
- Improve performance.
- Upgrade dependencies.
- Adjust deployed resources.
Heicode reuses the existing project context, resource connections, and audit trail.
Things to Keep in Mind
- Don't put credentials in requirements, Markdown, chat content, or Git.
- Start with a test environment before authorizing cloud resources.
- Read approval content carefully before a production deployment.
- If you're unsure whether a resource should be authorized, choose read-only or don't authorize it yet.
- The CodeGW backend isn't an ordinary-user entry point — check models and balance in Heicode instead.
Walkthrough Video
Last updated on